
It’s very essential to know how to clean your swimming pool the right way. Although cleaning your pool isn’t a simple task, it can always be achievable and productive. What can help you finish your cleaning tasks easily? Automatic pool cleaners. Yes, they can assist you in cleaning your pool without getting so tired physically.
What are the 3 kinds of automatic pool cleaners? What are their distinctive functions and features? Let’s discuss them.
3 Types of Automatic Pool Cleaners
Suction-side Pool Cleaner
This automatic pool cleaner goes across and around the floors and walls of the pool with the help of a pool pump. It utilizes the pressure from the pool’s intake to suck in the water. Consequently, it will travel throughout the pool to eradicate dirt and other filths. These will be sucked then into the filtration system of the pool where you can easily detach the filter container and eliminate the gathered dirt.
The gathered small to middle-sized dirt particles and other detritus will be delivered into the filter basket which is located at the pool pump, while the tinier elements will be confined by the filter.
This pool cleaner normally operates off the pool’s dedicated suction-line, or skimmer, with the aid of the main circulating pump. Additionally, this variation of automatic pool cleaner is less pricey than other modern pool cleaners, such as robotic pool cleaners. Nevertheless, how do you do a suction pool cleaner installation? Let me present you some steps:
- Prior to installation, clean the pool manually. Ensure that the body of water is clean.
- Ensure that the pump basket and pool filter are rigorously clean.
- Look for the return-line fittings then turn them downwards and start assembling the hose. To attach to a dedicated suction-line, simply twist-lock the male end of the hose into the big end of a 45-degree elbow.
- When connecting it to a skimmer, detach the skimmer basket and insert the valve cuffs and affix the flow-keeper valve with the arrow pointing down towards the skimmer pipe.
- Drown the hose and load it up with water. Keep it submerged while connecting the flow gauge to ascertain that there’s no air left in the hose.
- Simply test it and adjust for precise water flow. Remember to maintain the water flow at the accurate level to keep the suction cleaner operating continuously.
- Disengage the cleaner head and put the flow gauge if your suction cleaner has one. Keep the flow gauge under the water then ask someone’s assistance to turn on the pump.
- If you notice that the flow is in the low range (0 to 2), clean the pool filter basket and make sure that the valves controlling the suction lines are in the accurate position. To provide more suction to the skimmer, adjust the valves.
- Just in case you notice the flow ranges from 4 to 6, lower the flow setting on the flow keeper valve. Adjust the valve to provide better flow to the major drain and to minimize the suction to the skimmer.
- Submerge the cleaner. When the bubbles stop appearing, affix the hose by pushing the connector to the cleaner. Position the hose float on the initial hose section (9 inches upon the cleaner head).
No doubt suction pool cleaners productively clean and eliminate the filth from the pool, but it’s not that effectual in terms of ultra-deep cleaning. Also, you’ll need to be attentive in monitoring this automatic pool cleaner as it cleans your pool. If you’re not going to look for your suction pool cleaner during its operation, it might get clogged, and worse, it might conk out.
Nonetheless, this automatic pool cleaner is still a great buy. It’s very dependable and it operates productively as it can collect tiny to medium-sized dirt from your pool. Plus, it is very sturdy and inexpensive.
Pressure-side Pool Vacuum Cleaner
In general, pressure-side pool cleaners are affixed to the pressure inlet of the pool pump. At times, this kind of cleaner necessitates a supplementary booster-pump just in case the pool pump itself cannot give the right amount of water pressure to the pool cleaner to work properly.
Pressure-side pool cleaners utilize higher amounts of pressure and stronger suction to powerfully and rigorously clean the swimming pool. They clean much quicker than suction-side cleaners. Moreover, they don’t place reliance on the filtration setup of your swimming pool as they contain their filter and its bag.
Pressure-side cleaners are likely to be some of the most powerful kinds of cleaners and they are very effectual in terms of sucking in average to large-sized debris. They also generally work as a moving return line that distributes clean, chlorinated, and heated water all over the pool. This helps in removing the cold spots and algae blooms that appear in specific areas.
There are two kinds of pressure-side cleaners. Some necessitate a dedicated booster-pump to perform cleaning tasks, and some work with a pool pump. However, the installation method of these two kinds of pressure-side cleaners is technically similar.
The container that’s present in each pressure-side pool cleaner is made to collect dirt and it is very dependable because it can hold a bigger amount of dirt and it does not clog easily. But how do you normally do your pressure side pool cleaner installation? Here are the steps.
- Ascertain that you have a dedicated pressure-line with 1 and a half-inch of the female fitting.
- After that, ascertain to flush out the return line. You can do that by activating the pump for 1 minute then turn it off after.
- Install the universal wall fitting (UWF) by disengaging it. Screw it then on the fitting and affix the quick-disconnect once again by pressing it into the UWF, turning it clockwise then pulling it after.
- Adjust the hose length to make it fitting to the pool. The standard leading-hose should be adjusted to the deepest area of the swimming pool.
- Affix the hose to the return line and ascertain to walk it up to the furthest corner of your swimming pool. If the hose is too long, try cutting half the amount from both sides and reaffix it. If the hose is too short, buy extensions.
- Once you get the right length, remember to adjust the floats. Put one float abutting to the backup valve on the cleaner to ameliorate the vertical lift in the event of a backup cycle. The float should be spaced correctly to prevent it from tangling.
- To piece the cleaner together, detach the mender nut from the hose then put the nut upon the feed pipe. After that, push the hose over the barb and attach the mender nut to the hose.
- Pull the bag out from the cleaner and install the bag on the feed hose. Push down the head float against the body of the pool cleaner. Submerge then the pool cleaner into the pool and then activate the pump to examine the wheel speed.
- The standard number of wheel rotations is 32 to 36 per minute. If the rotation is less than 32, detach the pressure disc that’s installed in the UWF to put higher pressure on the cleaner.
- The performance of the pool cleaner can be adjusted with the assistance of the thrust jet placed at the back of the cleaner. Put it in the 11 AM to 1 PM position to make the climbing increase. To decrease it, put it in the 5 PM to 7 PM position.
- You can adjust power to the drive. Just rotate the sweep adjustment valve.
The major downside of using a pressure-side cleaner, nevertheless, is that it has higher energy consumption.
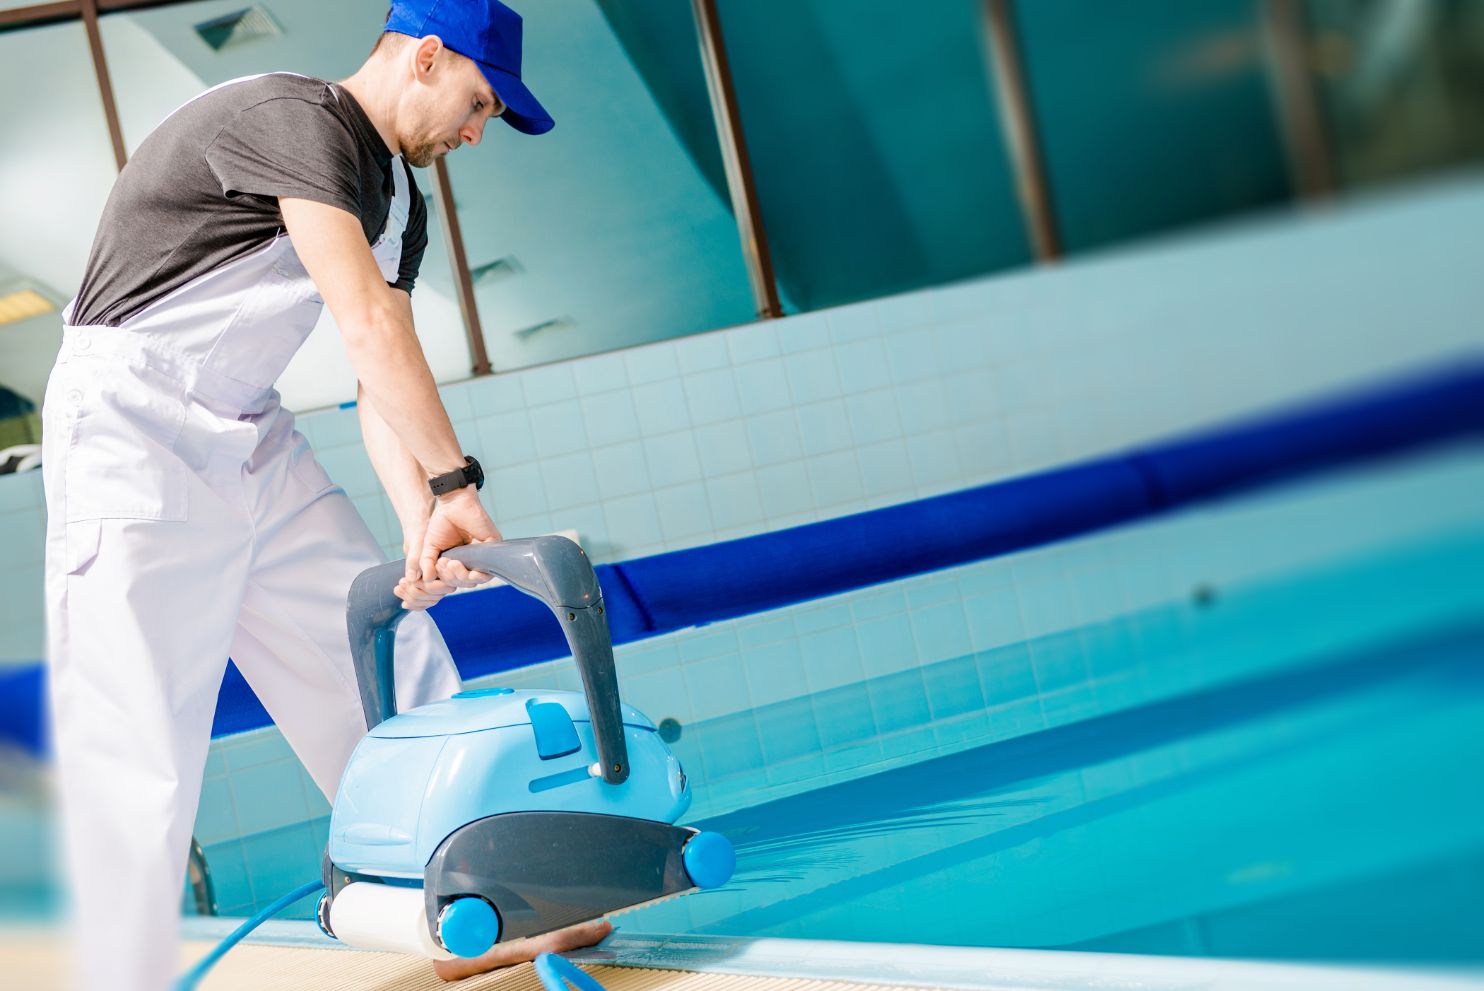
Robotic Pool Cleaner

Robotic pool cleaners are ultra-easy to install and utilize. Their function is very easy to understand. They can even finish their cleaning duties without requiring too much of your assistance.
Robotic pool cleaners work independently and efficiently. Furthermore, they’re truly cost-effective, economical, and environment-friendly. In general, they are very easy to use. They don’t require gas to work and they can do their tasks productively even without using excessive power.
Owning a robotic pool cleaner saves a huge amount of time, hassle, and funds on preserving the quality of your pool. Numerous robotic pool cleaners are very hassle-free to use as they do not need complicated installation. Some of them can even be operated using your smartphone! But how then can you properly manage a robotic pool cleaner? Let me show you a few steps:
- Piece the carrier caddy together. After that, ensure that the control unit and the caddy are positioned at least 5 feet from the pool deck.
- Get the cord plugged into an approved GFCI outlet.
- To activate the best performance out of the robot cleaner, affix the floating cable to the control unit and thread the connector. Do not tighten it too much.
- Drown the robot pool cleaner into the pool vertically to get rid of the trapped air inside it.
- Choose your preferred cleaning cycle and simply tap the Start button.
If you have further questions regarding robotic pool cleaners, feel free to read this FAQ for salient details.