
The clip art is one of the most fun things that you can create on Procreate, not only is it fun and easy, but it also can be a source of income. So, stay tuned to the end of this post, we will tell you what clipart is, what purposes can you use it for, how you can make one and what are the different types of clipart you can make!
So, what is clip art you ask? Well, it is a fancy word for a “digital drawing” it is a drawing that you create -in our case- in procreate. This drawing has a transparent background and can be added as an element in different types of designs like flyers, logos, booklets, social media posts, anything really.
Just make sure when creating it on raster programs like procreate, to draw it bigger than you think you want it! And that is because drawings on such programs tend to get pixelated when enlarged. So, you want to make sure you draw it larger in the first place. For example, if you are creating a design to be printed on A4 paper, you want to create it big enough to fill a whole canvas with dimensions of 8.5*11 inches.
Oh, and before we get started, we would like to recommend you check out these procreate brushes of both free and paid brushes with tons of beautiful textures for you to choose from!
There are different types of clip arts that you can make for different uses
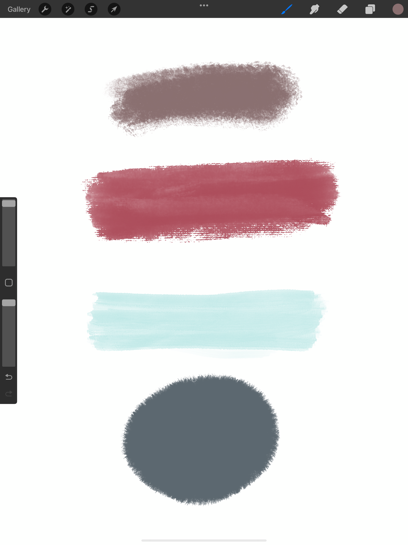
Shapes:
you can make different types of shapes (a circle, rectangle, heart, or a star) of different colors and patterns.
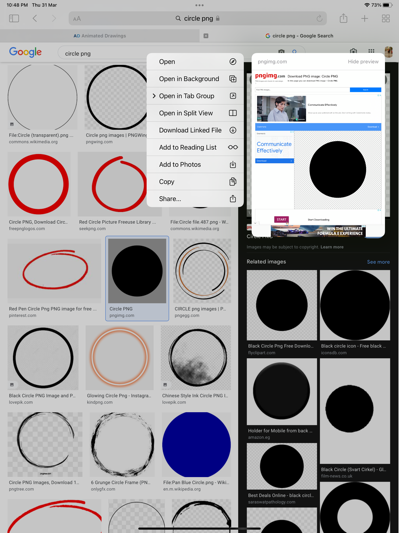
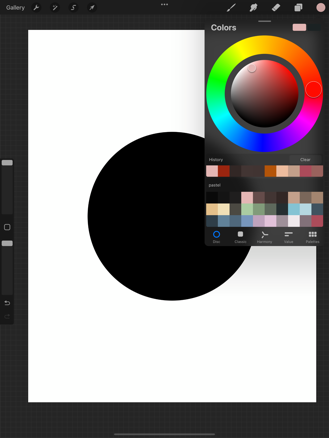
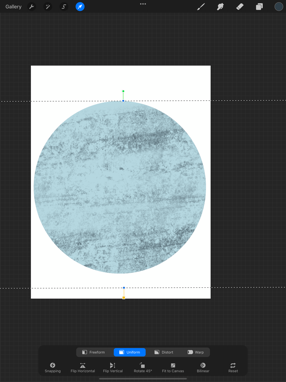
To do that we will create a new canvas, the same size as we mentioned before, and search google images for circle PNG. You will probably find that it has a checkered background. When you import it, you will find that it no longer has a background.

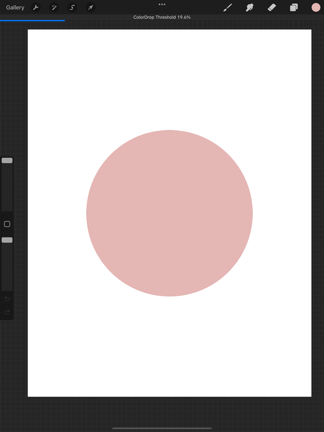
Next, we are going to fill it with a nice neutral color.
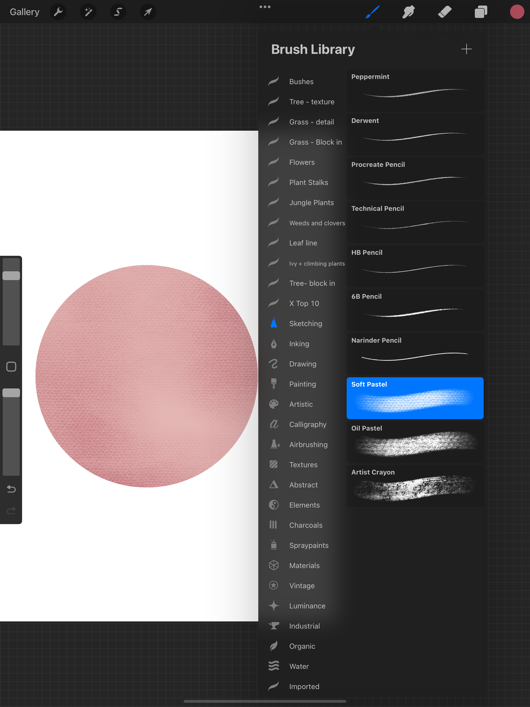
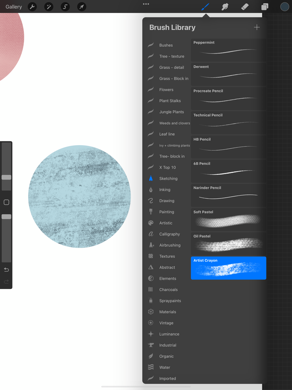
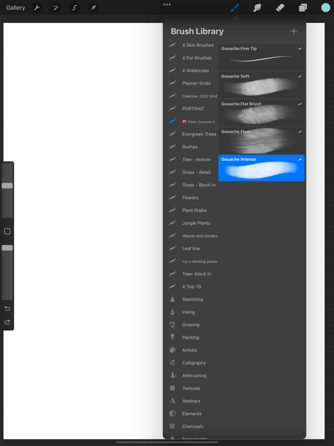
Add a new layer. Tap on it, then select clipping mask. This will allow us to draw on a new layer. However, it won’t allow us to paint outside the circle that we imported. Next, we are going to select a textured brush and start adding some texture to our circle in a slightly darker color. And very easily, we just created our very first clip art!

We can continue to create more circles using the same process, however creating different elements. Don’t forget to make it as big as you can.
Look at the variety of circles we created! Now it is time for you to save them one circle at a time. Go to the “Actions” menu, “Share”, then select “PNG”, so that your design is saved with no background, for you to add later as a sticker on any design.
But that is just a circle! Well, not really! We see it as a design element, you could very easily add text to it and turn it into a logo!
Elements:
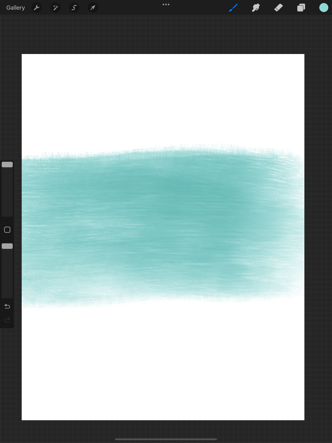
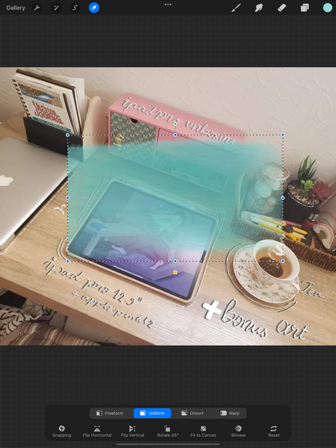
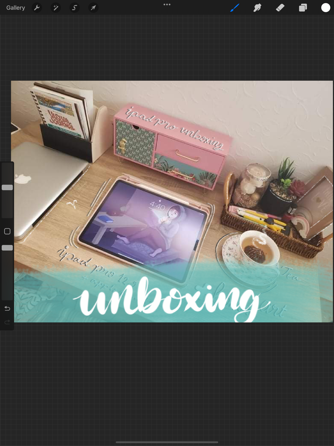
You can even use a pretty textured brush like this one that we have on our website to create clip art, using only one stroke! How cool is that?! See how we added the brush stroke to this youtube thumbnail?
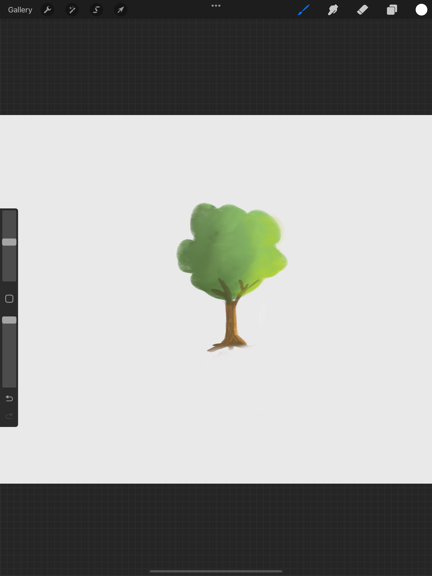
Illustration
This one requires a little bit of artistic skill, but you can illustrate individual elements of an illustration save it as a PNG and you have got yourself a clip art!
Labels.
Again with a couple of brush strokes, multiple times you can make yourself a whole pack of labels to sell online!
Icons
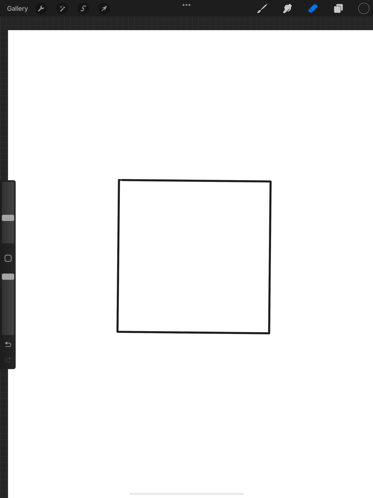
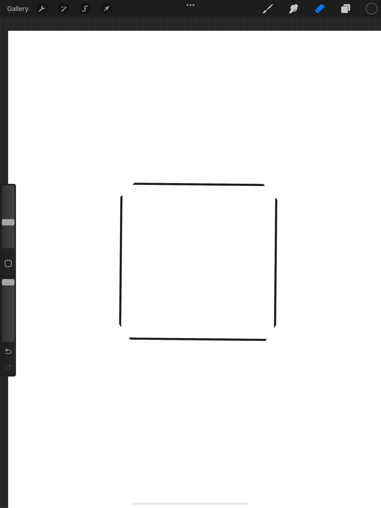
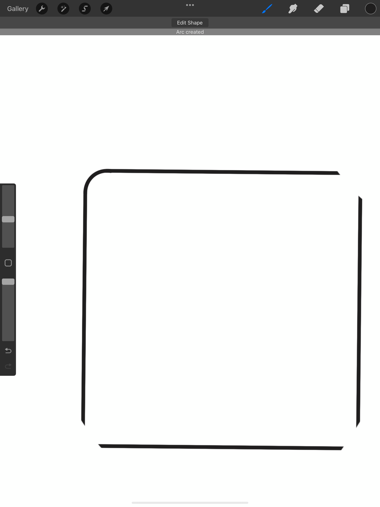
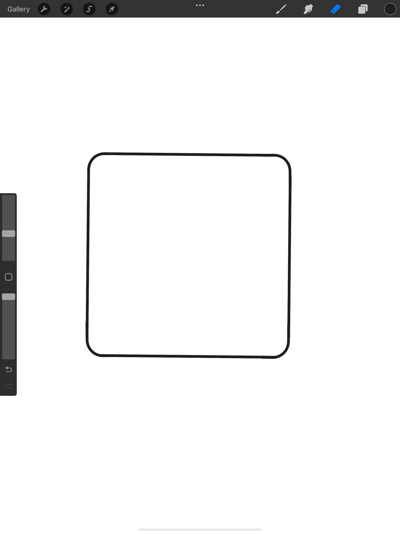
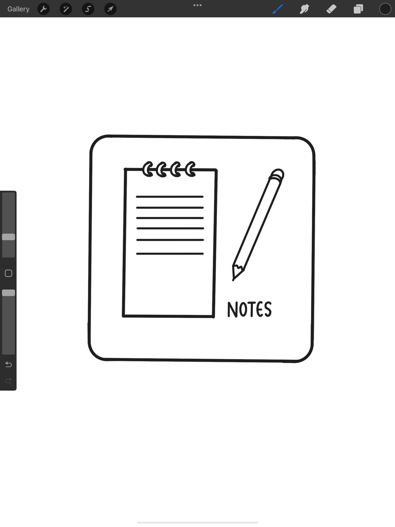
This one is very simple! All you have to do is draw some straight lines by drawing and holding. Create some straight lines that deliver your ideas!
And that is all we have to share with you regarding clip arts! Keep those creative juices flowing!