The digital world has created new means to make research easier and faster. It has now covered many activities that used to mean looking up pictures in magazine or saving a day to make library trips.
Now that a lot of information is easily reached with the click of a mouse or a touch of the screen, this also means that someone else might be using the same resource as you do for the same reasons. You can end up reading the same idea using the same words and in cases, presented using the same images.
To be truly unique in what you’re presenting, you now have to double those safeguards.
With pictures being easier to obtain using ‘right click + save as’, this presents the challenge of making sure that you don’t end up looking like ‘that other guy’s presentation’.
You may also be that dude who wants to use a picture for social media accounts but you’d rather make sure what you’re using won’t be more trouble than it’s worth. You might also wonder if there is a better quality version of the picture you want to use other than what is available now.
This is where reverse image searches will come in handy.
As the name implies, reverse image searches check where an image was first seen and what other websites have that content in use. It usually provides the original file type used for the image, and which website first put it on display.
Reverse image searches can be done through PCs, but the technology is also available for mobile phones. This is the first step you can do to make sure that the images you will be using won’t put you at odds with their creators. Reverse image searches can also help you find out if someone else cribbed picture/s you have made.

Getting started on reverse image searches is quite easy. Just upload an image you have saved or if from a browser, copy the image link of what you are querying and search. There are enough web tools on the internet you can use – the better part of it is that you will have enough free options.
The following are some of the best free tools you can get a hold of for reverse image searching:
1. TinEye
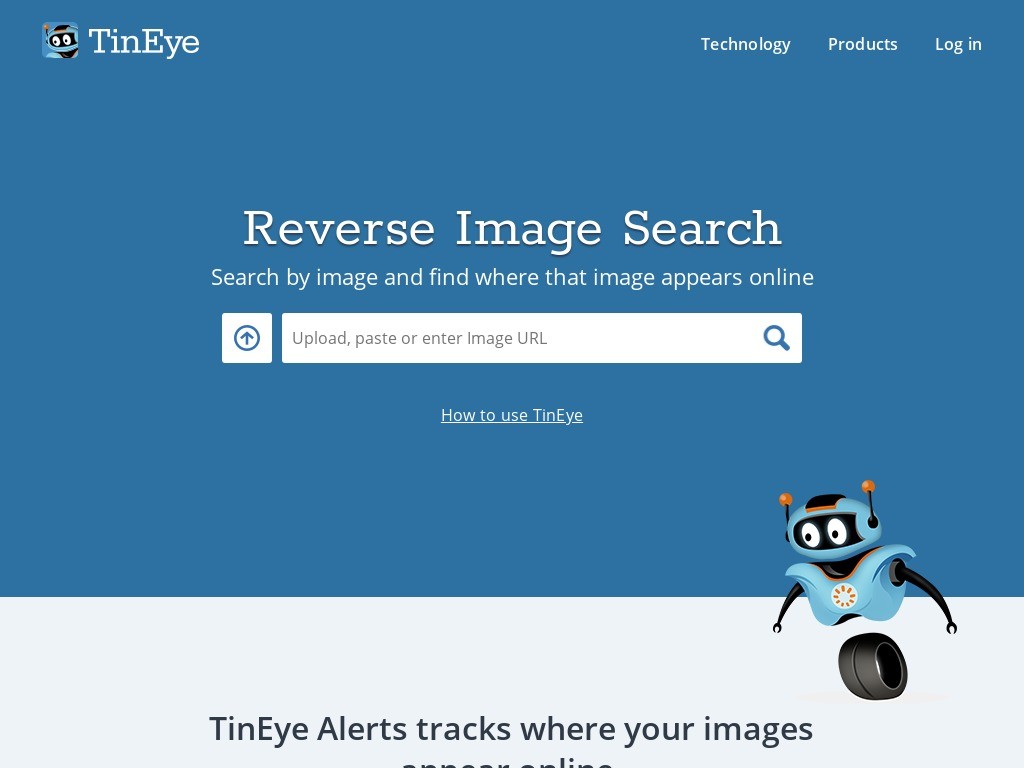
TinEye is arguably one of the oldest and best-known image search engines. They’ve been at this practice even before Google came up with their own reverse image search function. To access TinEye, log on to their website or download their plugin.
The search results will show websites that housed the same picture or if other versions exist. While more and more reverse image searching services are coming up with their own features other than researching on a picture, TinEye stays relevant using a simple, fast and direct approach.
2. Google Image Search.
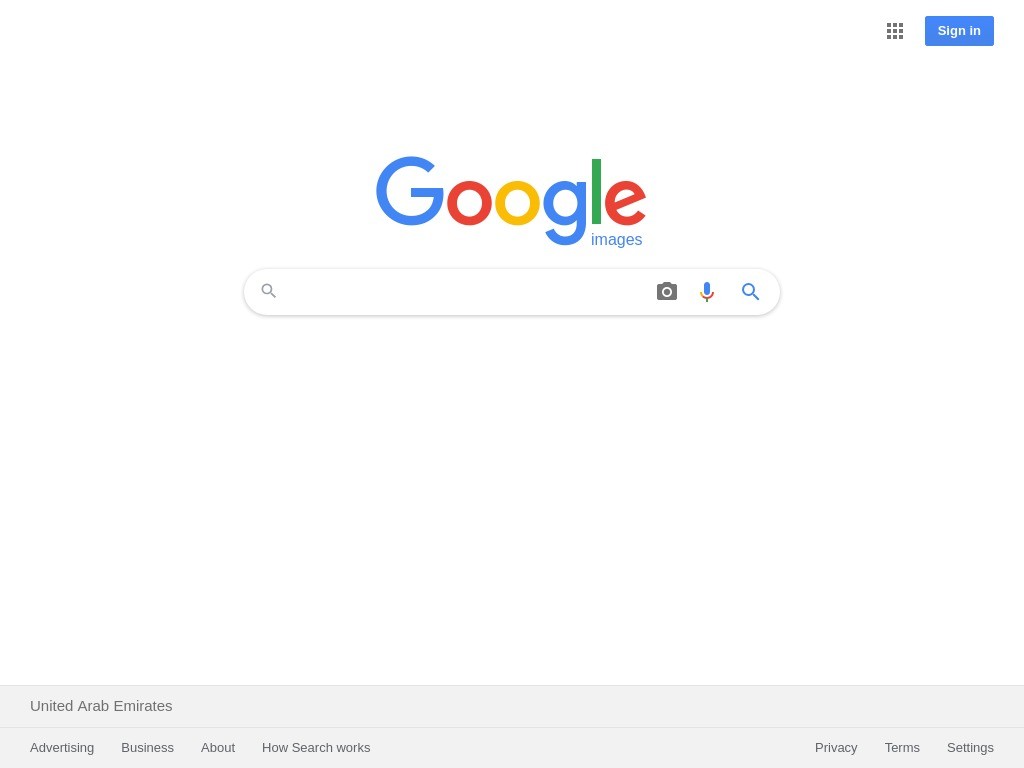
This is probably one of the easier ways to do reverse image searching due to it being readily available for as long as Google is your browser’s homepage.
Using the reverse image search function starts by going to Google Images and clicking the camera icon at the right end of the search bar. You can drag and drop the picture you’re querying, enter an image URL from a website, or browse your device’s file folders and selecting the picture you want to research on.
3. Bing Image Search
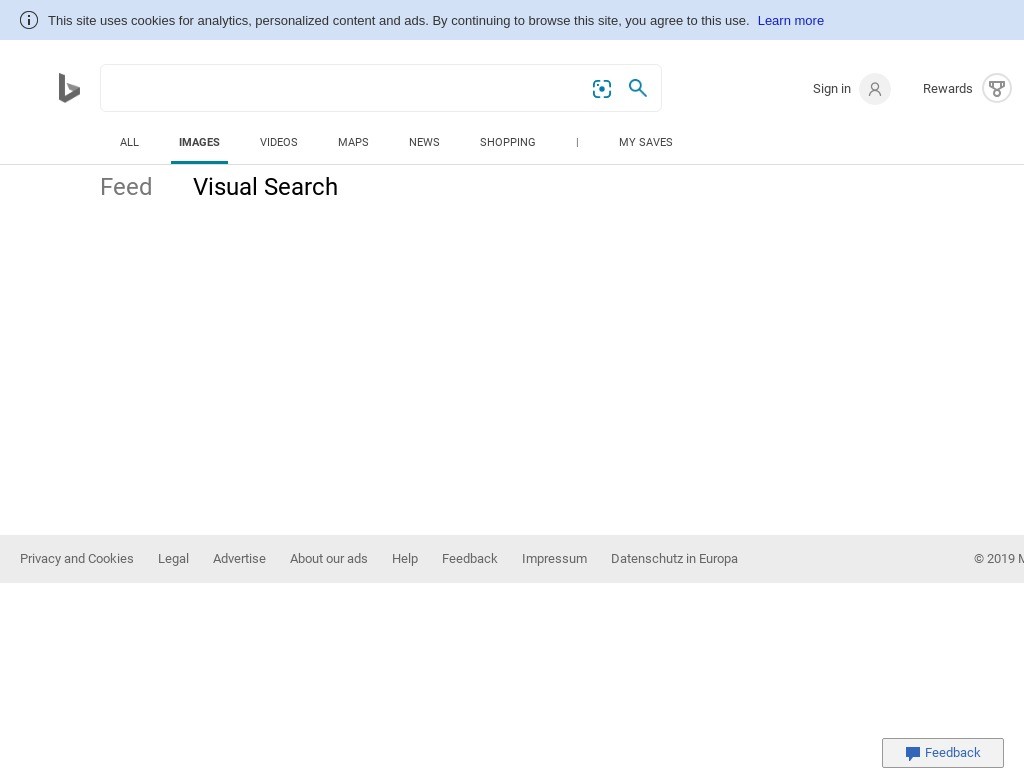
Bing’s reverse image search works just like Google Images, but with a few features added. Aside from uploading an image or typing in its URL, Bing’s search function can also let you take photos from a mobile phone camera or PC camera.
Popular tags related to the image are found as separate search results. Bing’s search results may be a little less direct than Google Images when it comes to checking the sites using a picture. Clicking a picture will take you to the website it is sitting on.
4. Yandex
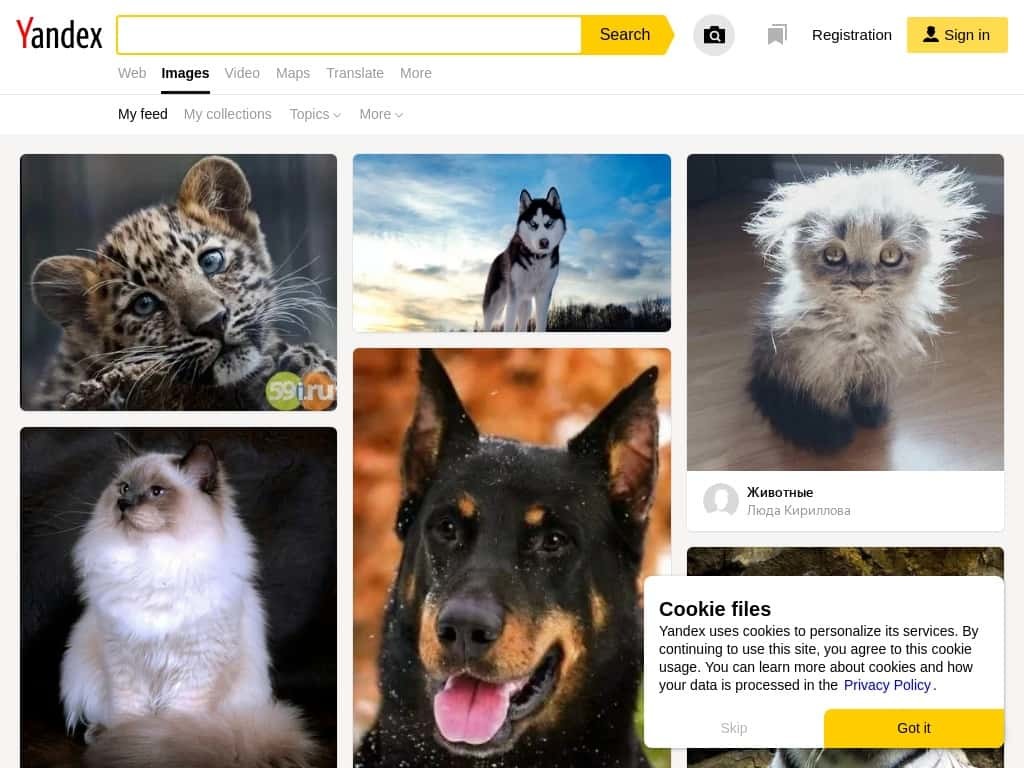
While being more widely-used in Russia, Yandex’s reverses image search comes up with its own unique features and innovations. Operating this function is just as easy as using the Google or Bing (save for the take a photo function) counterparts.
The uploaded image not only covers websites that host or use the picture, but also users across different forums or social media accounts using it as an avatar or a background picture.
5. Image Operations
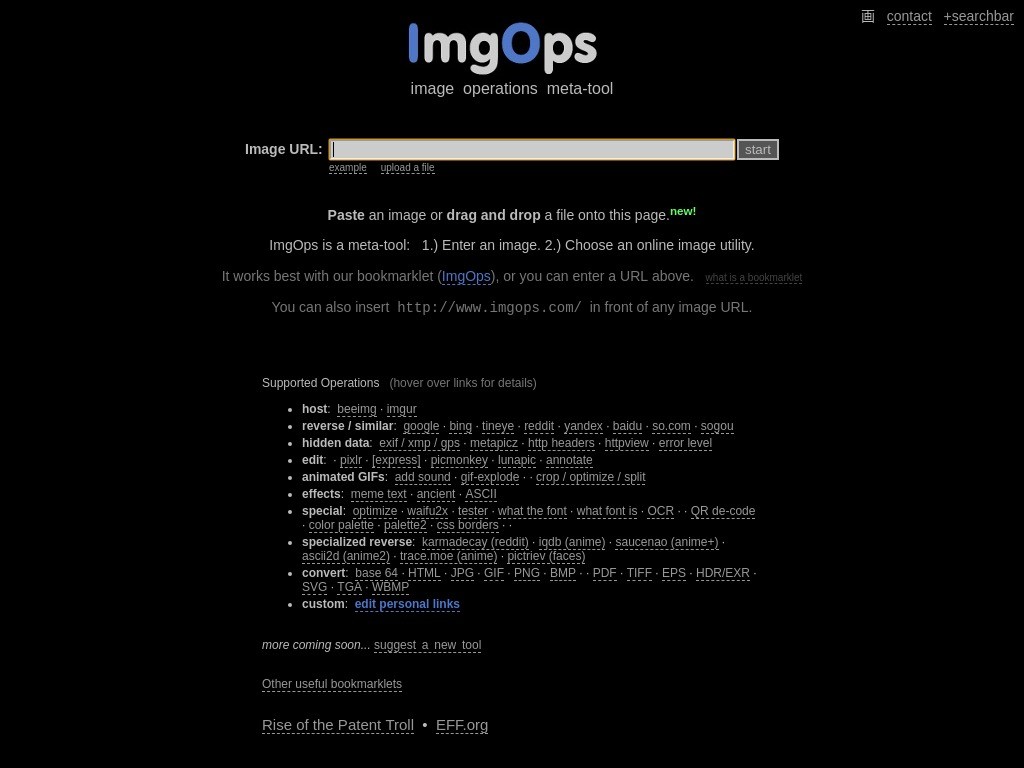
Image Operations (ImgOps) lets you do more than looking up search results. The web tool allows you to pull up results from search engines with reverse-image searching. ImgOps can also help you further filter content by choosing images you would want to see based on tags.
Any versions of the uploaded picture will be available for viewing by clicking either the available image search engines or choosing a picture description. ImgOps also allows you to start editing an image to your liking through embedded links for editing, optimizing or converting the image to another file type.
Wrapping Up
Reverse image searching is a welcome addition to getting more out of a project, widening options for images to use, or simply tracing the history of what you are looking for. You can start your image or visual research more efficiently because most of the services reveal a bit of history through the search results.
Beginners in making presentations can stay out of trouble with certain images because reverse image searches will give enough contexts to find out if you will be using a copyrighted picture or photo.
This easy-to-understand process is a boon simply because pictures have more stories than they look. Reverse Image Search is the best tool to start looking into those unseen details.

